Gmail API 사용 활성화 및 사용자 인증 정보 생성
GCP 프로젝트를 생선한 후, 왼쪽 사이드바에서 [API 및 서비스] - [라이브러리]에 진입한다.
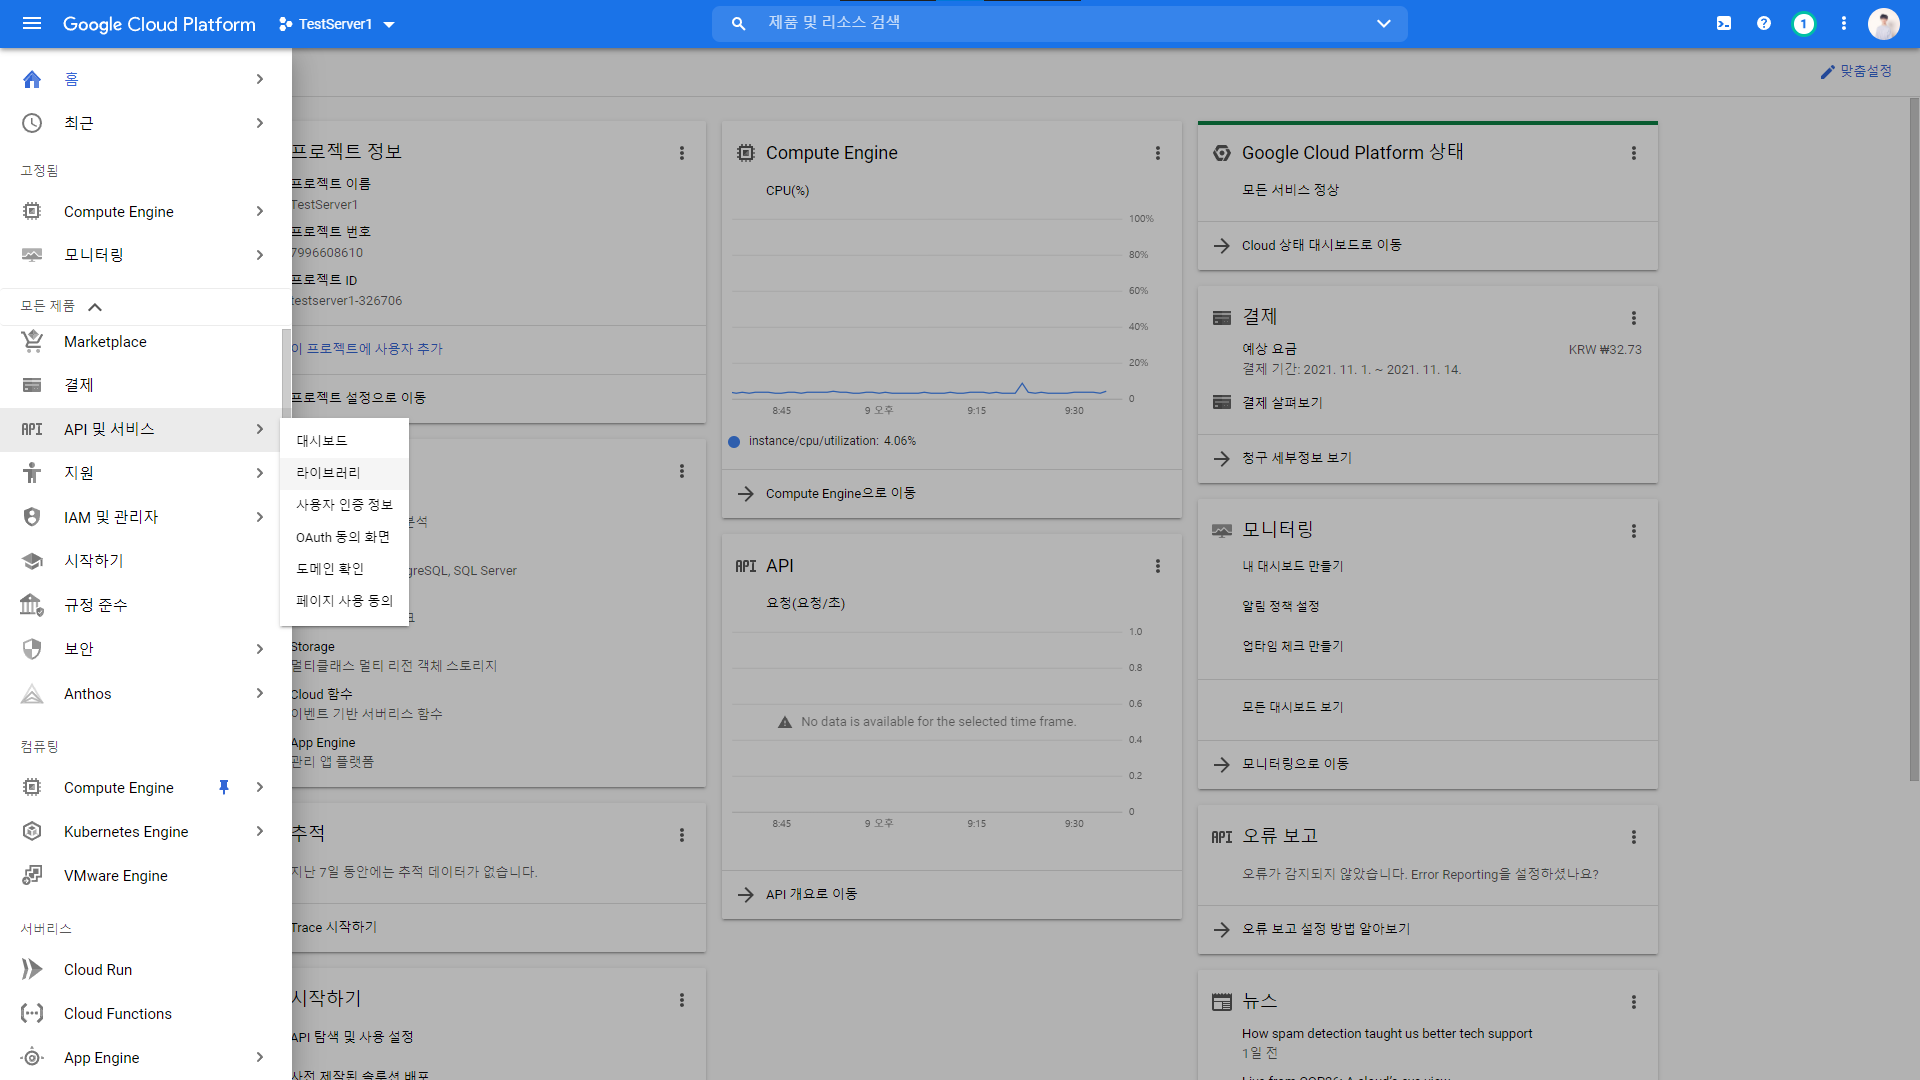
gmail을 검색해서 들어간 후에 [사용] 버튼을 클릭한다. (이미 사용중인 경우 [관리] 버튼으로 대체되어 있다.)


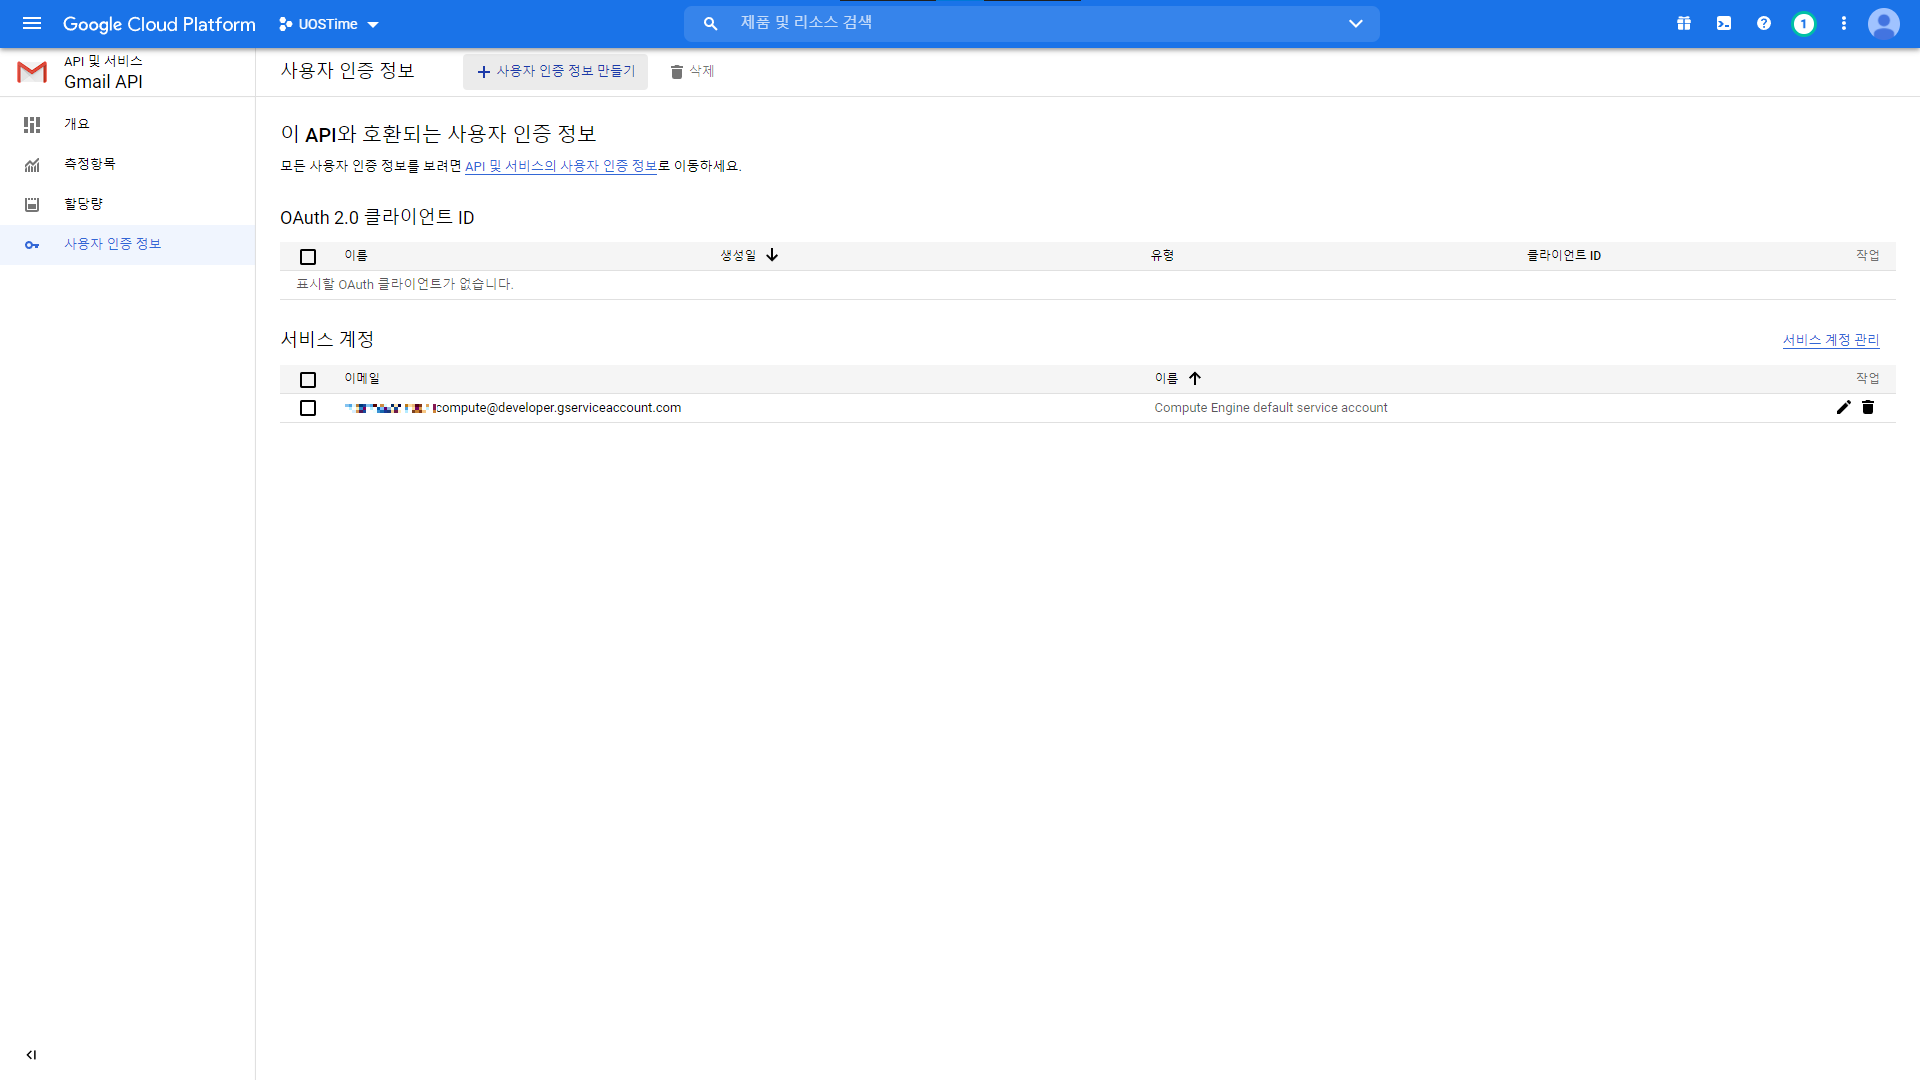
조금 기다린 후 [사용]이 [관리] 버튼으로 변경되면(안 되면 페이지를 새로고침 해보자), 버튼을 눌러 관리 페이지로 진입한다.
위의 [+ 사용자 인증 정보 만들기] 버튼을 누르고 [OAuth 클라이언트 ID 만들기]를 선택한다.
맨 처음 사용자 인증 정보를 만드는 경우, OAuth 동의 화면을 먼저 작성해야 할 수 있다. (이미 작성한 경우 생략)

OAuth 동의 화면은 안내에 따라 간단히 생성할 수 있다.
앱을 게시할 필요는 없다. 다만 테스트 사용자에 본인 계정을 추가해야 본인이 사용할 수 있으니 등록하도록 한다.
다시 사용자 인증 정보를 만드는 것으로 돌아와서,
애플리케이션 유형은 특별한 경우가 아닌 이상 "데스크톱 앱"을 선택한다. 이름은 자유롭게 정한다.

방금 만든 OAuth 클라이언트에 대한 정보를 확인할 수있다. 다운로드 버튼을 눌러 JSON 파일을 다운받는다.


코드 작성 및 실행
먼저 프로젝트를 초기화하고 googleapis 패키지를 설치한다.
npm init
npm i googleapis
package.json에 다음을 추가한다. (불필요한 부분은 생략했다.)
{
  "scripts": {
    "mailer": "node mailer.js"
  },
  "type": "module"
}
앞서 다운받은 JSON 파일을 프로젝트 폴더에 추가한다. 나는 편의상 credentials.json라고 이름을 바꿨다.
mailer.js 파일을 만들고 내용은 다음과 같이 작성한다. (80, 81줄의 발신/수신 이메일 주소는 적당히 설정한다. 발신 이메일 주소의 경우 앞서 OAuth 동의 화면에 등록된 테스트 사용자의 것이어야 한다.)
/* eslint-disable no-undef */
import fs from 'fs';
import readline from 'readline';
import { google } from 'googleapis';

// To check all scopes: https://developers.google.com/identity/protocols/oauth2/scopes?hl=en
// If modifying these scopes, delete token.json.
const SCOPES = [
  'https://mail.google.com/',
  'https://www.googleapis.com/auth/gmail.send',
];
// The file token.json stores the user's access and refresh tokens, and is
// created automatically when the authorization flow completes for the first
// time.
const TOKEN_PATH = 'token.json';

// Load client secrets from a local file.
fs.readFile('credentials.json', (err, content) => {
  if (err) return console.log('Error loading client secret file:', err);
  // Authorize a client with credentials, then call the Gmail API.
  authorize(JSON.parse(content), sendMail);
});

/**
 * Create an OAuth2 client with the given credentials, and then execute the
 * given callback function.
 * @param {Object} credentials The authorization client credentials.
 * @param {function} callback The callback to call with the authorized client.
 */
function authorize(credentials, callback) {
  const {client_secret, client_id, redirect_uris} = credentials.installed;
  const oAuth2Client = new google.auth.OAuth2(
    client_id, client_secret, redirect_uris[0]);

  // Check if we have previously stored a token.
  fs.readFile(TOKEN_PATH, (err, token) => {
    if (err) return getNewToken(oAuth2Client, callback);
    oAuth2Client.setCredentials(JSON.parse(token));
    callback(oAuth2Client);
  });
}

/**
 * Get and store new token after prompting for user authorization, and then
 * execute the given callback with the authorized OAuth2 client.
 * @param {google.auth.OAuth2} oAuth2Client The OAuth2 client to get token for.
 * @param {getEventsCallback} callback The callback for the authorized client.
 */
function getNewToken(oAuth2Client, callback) {
  const authUrl = oAuth2Client.generateAuthUrl({
    access_type: 'offline',
    scope: SCOPES,
  });
  console.log('Authorize this app by visiting this url:', authUrl);
  const rl = readline.createInterface({
    input: process.stdin,
    output: process.stdout,
  });
  rl.question('Enter the code from that page here: ', (code) => {
    rl.close();
    oAuth2Client.getToken(code, (err, token) => {
      if (err) return console.error('Error retrieving access token', err);
      oAuth2Client.setCredentials(token);
      // Store the token to disk for later program executions
      fs.writeFile(TOKEN_PATH, JSON.stringify(token), (err) => {
        if (err) return console.error(err);
        console.log('Token stored to', TOKEN_PATH);
      });
      callback(oAuth2Client);
    });
  });
}

function sendMail(auth) {
  const gmail = google.gmail({version: 'v1', auth});
  gmail.users.messages.send({
    userId: 'me',
    requestBody: {
      raw: base64Encode(
        'From: 이메일@gmail.com\n' +
        'To: 이메일@naver.com\n' +
        'Subject: "Test Message"\n' +
        'MIME-Version: 1.0\n' +
        'Content-Type: text/plain; charset="UTF-8"\n' +
        'Content-Transfer-Encoding: message/rfc2822\n' + // 7bit, quoted-printable
        '\n' +
        'This is a test message.\n'
      ),
    },
  }, (err, res) => {
    if (err) return console.log('The API returned an error: ' + err);
    const messageId = res.data.id;
    console.log(`Message sent with ID: ${messageId}`);
  });
}

const base64Encode = (message) => {
  return Buffer.from(message)
    .toString('base64')
    .replace(/\+/g, '-')
    .replace(/\//g, '_');
};
이제 프로젝트 폴더구조는 다음과 같다.
- /
- node_modules
- mailer.js
- credentials.json
- package-lock.json
- package.json
다음을 실행한다.
npm run mailer
대략 이런 내용이 출력된다. 해당 링크로 방문하여 로그인 후 액세스를 허용하면 코드를 알려준다. 코드를 복사해서 터미널에 입력해주면 된다.
Authorize this app by visiting this url: https://accounts.google.com/o/oauth2/v2/auth?access_type=offline&scope=https%3A%2F%2Fmail.google.com%2F%20https%3A%2F%2Fwww.googleapis.com%2Fauth%2Fgmail.send&response_type=code&client_id=&redirect_uri=
Enter the code from that page here:
프로젝트 폴더에 token.json 파일이 생성되었을 것이다.
그리고 코드와 설정에 문제가 없었다면 메일까지 보내졌을 것이다.

개선
글을 쓴 이후, 토큰 갱신 기능 추가 등 개선을 여러 번 했다.
https://github.com/gunhoflash/mailer 에서 확인할 수 있다.
참고
https://github.com/googleworkspace/node-samples/blob/master/gmail/quickstart/index.js
GitHub - googleworkspace/node-samples: Node samples for Google Workspace APIs.
Node samples for Google Workspace APIs. Contribute to googleworkspace/node-samples development by creating an account on GitHub.
github.com
https://developers.google.com/identity/protocols/oauth2
OAuth 2.0을 사용하여 Google API에 액세스 | Google ID 플랫폼 | Google Developers
이 페이지는 Cloud Translation API를 통해 번역되었습니다. Switch to English OAuth 2.0을 사용하여 Google API에 액세스 참고 : Google의 OAuth 2.0 구현의 사용이 적용됩니다 OAuth는 2.0 정책 . 구글 API는 사용 하여 O
developers.google.com
https://developers.google.com/gmail/api/quickstart/nodejs
Node.js quickstart | Gmail API | Google Developers
Send feedback Node.js quickstart Complete the steps described in the rest of this page to create a simple Node.js command-line application that makes requests to the Gmail API. Prerequisites To run this quickstart, you need the following prerequisites: Not
developers.google.com
https://developers.google.com/gmail/api/guides/sending
Sending Email | Gmail API | Google Developers
Send feedback Sending Email There are two ways to send email using the Gmail API: Emails are sent as base64url encoded strings within the raw property of a message resource. The high-level workflow to send an email is to: Create the email content in some c
developers.google.com
https://developers.google.com/identity/protocols/oauth2/scopes?hl=en#gmail
Google API 용 OAuth 2.0 범위 | Google ID 플랫폼 | Google Developers
이 페이지는 Cloud Translation API를 통해 번역되었습니다. Switch to English Google API 용 OAuth 2.0 범위 이 문서에는 필요한 액세스 수준에 따라 Google API에 액세스하기 위해 요청해야하는 OAuth 2.0 범위가 나
developers.google.com

